How do I add items?

Created by Shiva S, Modified on Tue, 2 Apr at 3:00 PM by Varshini Ravichandran

  1. To add an item, you would need to first log in to the admin portal using your admin account. 

  2. Once logged in, there are two ways to add an item: 

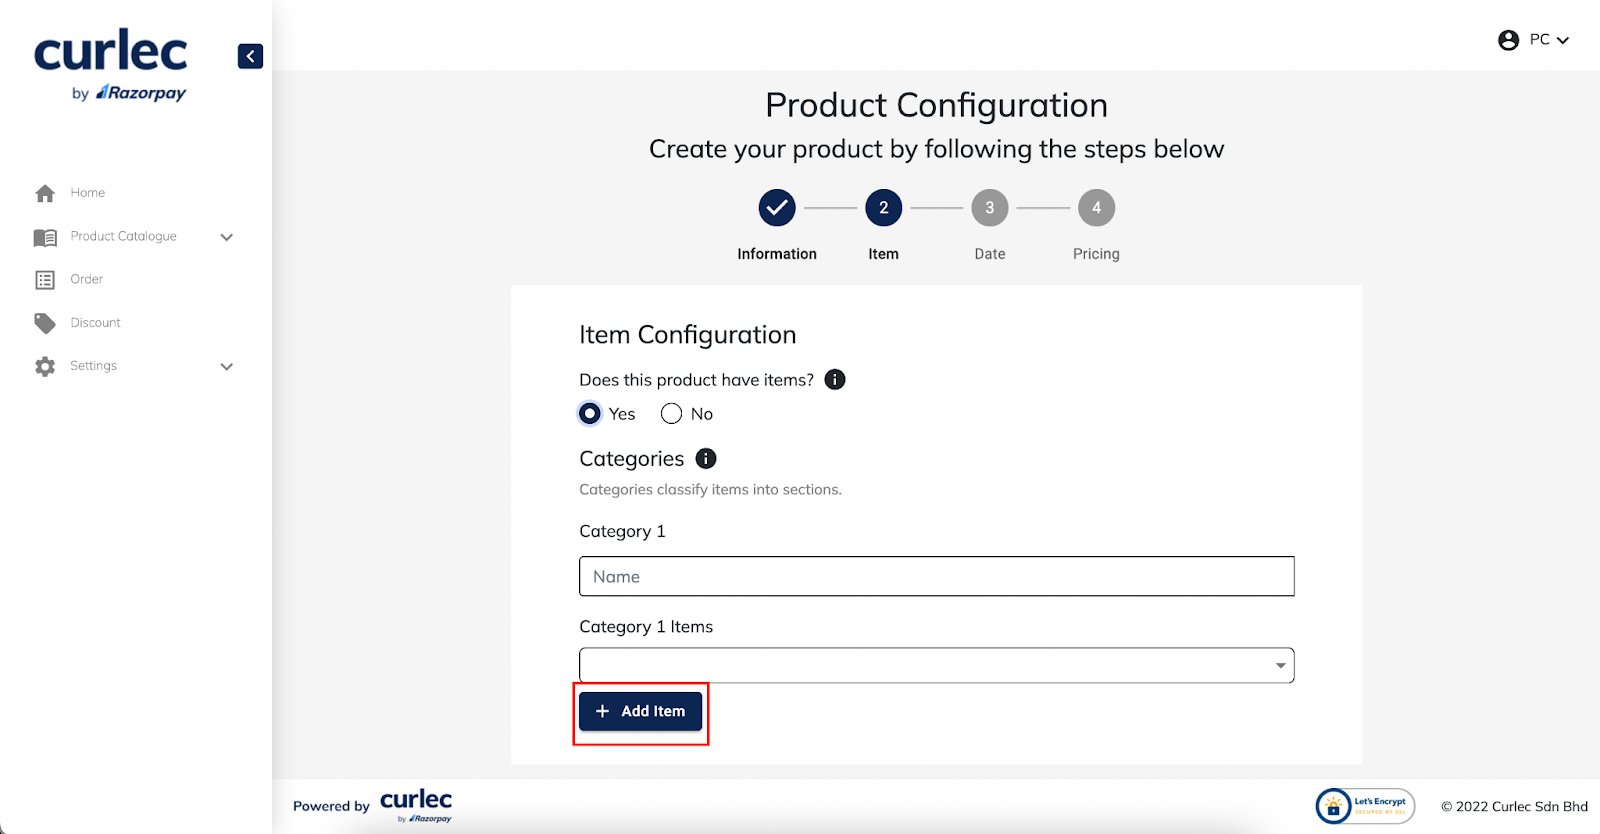
    1. Clicking the Add Item button on Step 2 of the Product Setup. This will open a pop-up where you can enter your item information and add it.


      b. Clicking on Items under Product Catalogue, and then clicking on the Add Item button above the Items table. 


  1. Clicking either button will lead you to the Create Item page where you can enter your item information and add it.


Section

Description

Item Name*

This section allows you to set the name of the item.

Item Description*

This section allows you to set a short description of the item.

Item Image(s)*

This section allows you to upload images of the item. Multiple images can be uploaded.


Does this item have variants?*

This section allows you to set if the item has variants or not. Examples of variants include flavour and size.


If the item has variants, click “Yes”. Otherwise, click “No”.

  Item Price* (No variants)

This section allows you to input the item price.

  Stock Keeping Unit (SKU)(No variants)

This section allows you to input a stock keeping unit (SKU) for the item, if applicable. 

Options* (Has variants)

This section only appears if the item has variants and allows you to set the variants for the item. 


Option 

This section allows you to choose a name for the variant. Pre-defined options include Size and Flavor. If Other is chosen, a field will appear below and allows you to input a custom name for the variant.


Variant Options

This field next to your variant name allows you to set your variants. Type in your variant options, and then separate them by pressing “Enter” on your keyboard.

Preview of Variants*

This section allows you to view every variant combination and set a price and stock keeping unit (SKU) for each item variant.


4. Click the “Create Item” button once you have filled in the necessary information.


A video demo is available below


Was this article helpful?

That’s Great!

Thank you for your feedback

Sorry! We couldn't be helpful

Thank you for your feedback

Let us know how can we improve this article!

Select at least one of the reasons
CAPTCHA verification is required.

Feedback sent

We appreciate your effort and will try to fix the article